Introduction to Gipfeli Recipe
Table of Contents
ToggleWhat is Gipfeli?
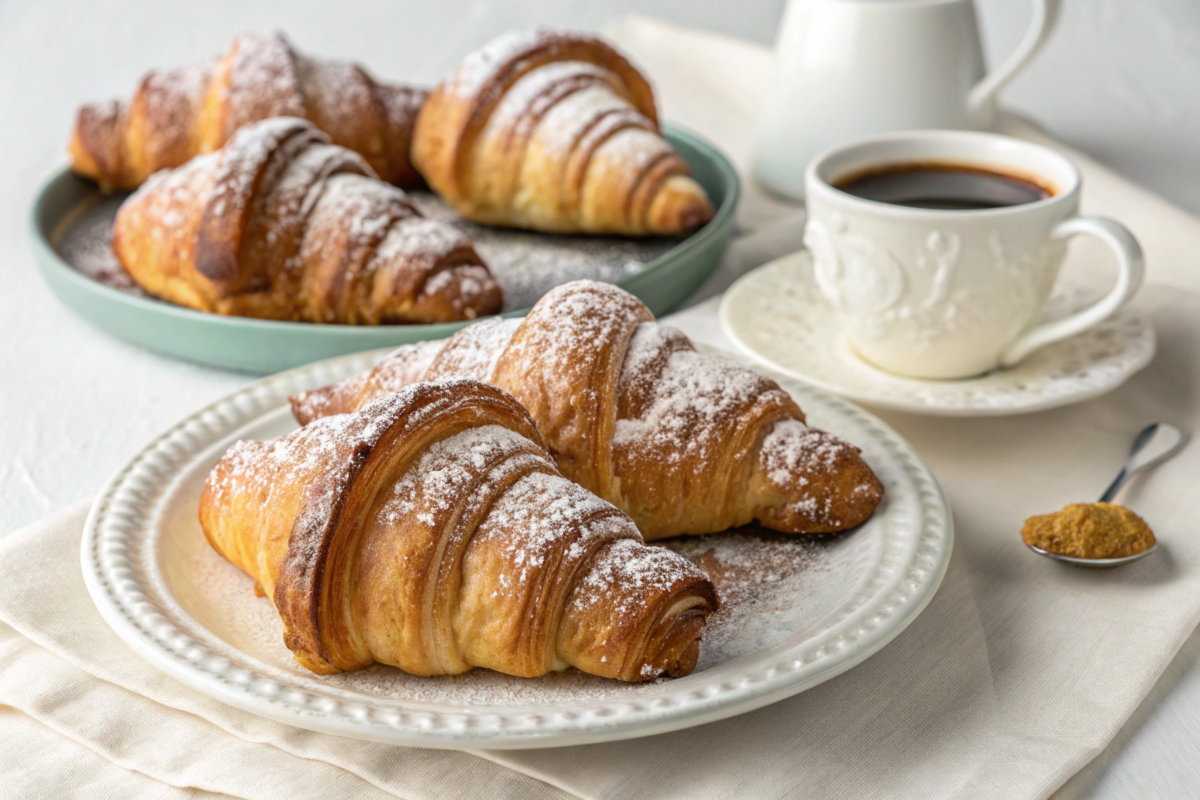
Imagine biting into a crescent-shaped pastry so tender and flaky it practically melts in your mouth. That’s a Gipfeli recipe, a beloved Swiss pastry often mistaken for its French cousin, the croissant. Unlike croissants, Gipfeli boast a slightly denser texture, making them perfect for both savory and sweet fillings. They’re made with laminated dough—layered butter and dough rolled repeatedly to create those iconic, golden layers.
But there’s more to these pastries than their irresistible flavor. Gipfeli symbolize comfort and tradition in Switzerland, often enjoyed during breakfasts or casual tea breaks. With their versatility, they can easily adapt to modern preferences while retaining their traditional charm.
Origin of Gipfeli Recipe
Tracing its origins to Switzerland, Gipfeli has long been a culinary staple in Swiss households. The name itself, derived from the German word “Gipfel,” means “peak” or “summit,” symbolizing the crescent shape resembling mountain peaks. These pastries, inspired by Austrian kipferls, gained popularity throughout Europe before becoming a cornerstone of Swiss gastronomy.
Popularity in Swiss Cuisine
It’s no surprise that Gipfeli plays a significant role in Swiss culinary culture. Paired with jam, cheese, or chocolate spreads, they make a perfect breakfast treat. But Gipfeli isn’t limited to mornings! These pastries often find their way into afternoon snacks or picnic spreads, proving their place as a versatile delight in Swiss kitchens.
Why Make Gipfeli at Home?
While store-bought Gipfeli are widely available, nothing compares to homemade ones. Baking Gipfeli at home allows you to personalize flavors, experiment with fillings, and, most importantly, savor the joy of creating something authentically Swiss. Plus, when made fresh, the aroma alone is enough to transport your senses to an alpine bakery.
Advantages of Homemade Gipfeli
Creating Gipfeli at home means control over ingredients, ensuring the highest quality and freshness. Store-bought versions often contain preservatives, but homemade Gipfeli allow you to indulge in a healthier, more natural treat.
Ingredients for Gipfeli Recipe
Essential Ingredients for Traditional Gipfeli
Creating the perfect Gipfeli starts with the right ingredients. Whether you’re sticking to the classic recipe or adding a modern twist, using high-quality components ensures success. These pastries rely on simple staples to achieve their flaky texture and rich flavor, making ingredient selection a critical step.
Base Ingredients (Flour, Butter, Milk, etc.)
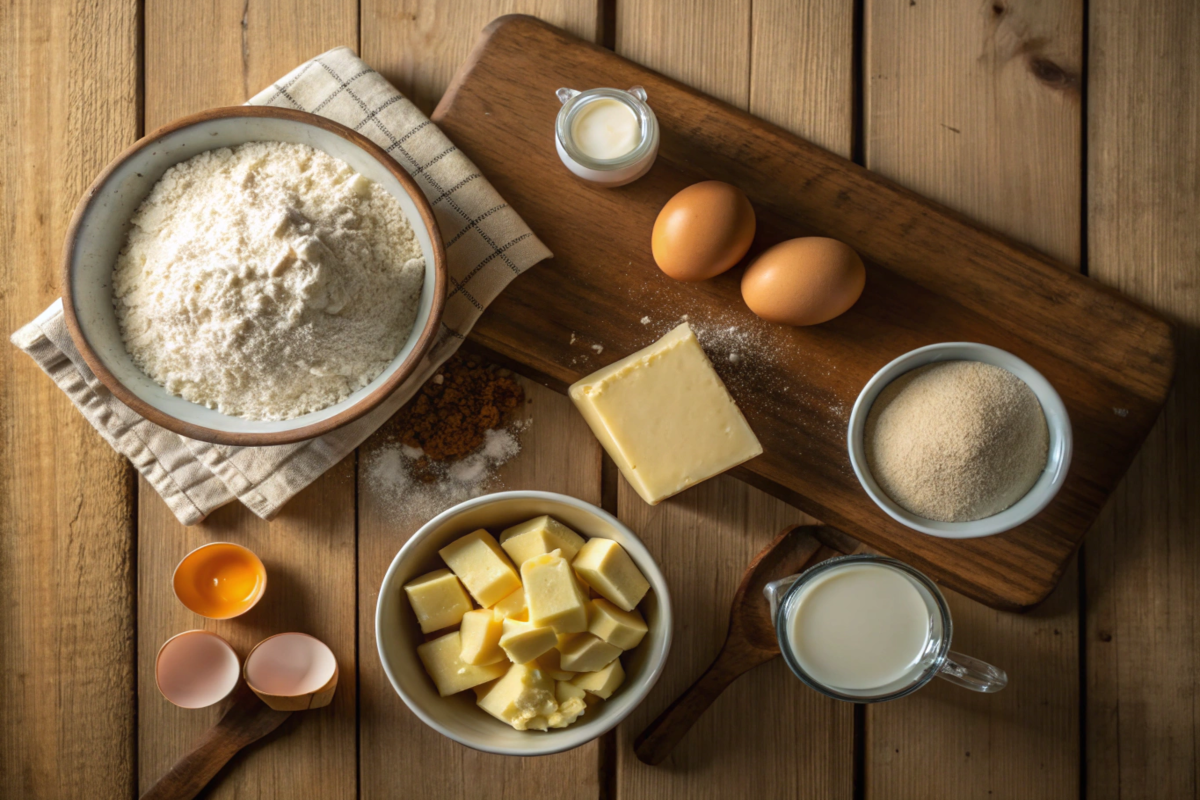
At the heart of every Gipfeli is flour, the building block for a soft, pliable dough. Opt for all-purpose flour, which strikes the right balance between protein content and elasticity. To create those signature buttery layers, unsalted butter is non-negotiable. Its higher fat content adds richness and flakiness to the pastry.
Another essential is milk, which brings moisture and enhances the dough’s tenderness. Don’t forget the yeast—it’s what gives Gipfeli their slight rise and delicate structure. A pinch of salt rounds out the flavors, ensuring the pastries aren’t overly sweet.
Variations and Additions (Chocolate, Cheese, Ham)
While traditional Gipfeli shine on their own, they’re equally irresistible with creative fillings. For a sweet touch, try adding chocolate or almond paste. Both melt beautifully during baking, creating pockets of gooey deliciousness.
If savory pastries are your thing, consider incorporating grated cheese into the dough or using it as a filling. For those who love a classic Swiss variation, Schinkengipfeli—made with thin slices of ham and cheese—delivers a satisfying, hearty flavor. The beauty of Gipfeli lies in their adaptability, so let your imagination guide you.
Tips for Selecting Quality Ingredients
When it comes to baking Gipfeli, the quality of ingredients can make or break your final product. Here are some essential pointers to ensure the best results.
Importance of Fresh Butter
Fresh butter is a key player in laminated dough. Its water content helps create steam during baking, which is critical for forming those light, airy layers. Always choose unsalted butter for better control over the pastry’s flavor profile, and keep it chilled until ready to use.
Choosing the Right Flour for Flaky Pastries
Not all flours are created equal! For Gipfeli, go for all-purpose flour with moderate protein content, which provides structure without becoming overly dense. Avoid using bread flour, as it’s too high in gluten, which can make the dough tough to work with. Fine-textured flour ensures your pastry is tender and flaky every time.
Step-by-Step Guide to Making Gipfeli Recipe
Preparing the Dough
Mastering Gipfeli begins with crafting the perfect dough. The process requires a little patience, but the end result—light, flaky pastries—is worth every minute.
Mixing and Kneading
Start by combining all-purpose flour, yeast, salt, and sugar in a mixing bowl. Gradually add lukewarm milk and melted butter, blending until the dough forms a cohesive mixture. Move it to a clean surface and knead for about 8–10 minutes until smooth and elastic. Kneading activates the gluten, giving the dough structure and strength to hold its layers during laminating.
Resting and Rolling the Dough
Once kneaded, let the dough rest for 1–2 hours in a warm place until it doubles in size. Resting relaxes the gluten and allows the yeast to ferment, enhancing the dough’s flavor. Afterward, roll the dough into a rectangular shape on a lightly floured surface. The key here is an even thickness to ensure uniform lamination.
Techniques for Laminating Dough
Laminating dough involves encasing cold butter within the dough and folding it multiple times. Place a thin sheet of chilled butter on the rolled dough, fold it over, and seal the edges. Roll the dough again, fold it into thirds, and repeat this process 3–4 times. This technique creates the signature flaky layers. Remember to chill the dough between folds to keep the butter firm.
Shaping Gipfeli Recipe
Shaping is where Gipfeli begins to take on its iconic crescent form. A little practice goes a long way in perfecting this step.
How to Achieve the Crescent Shape
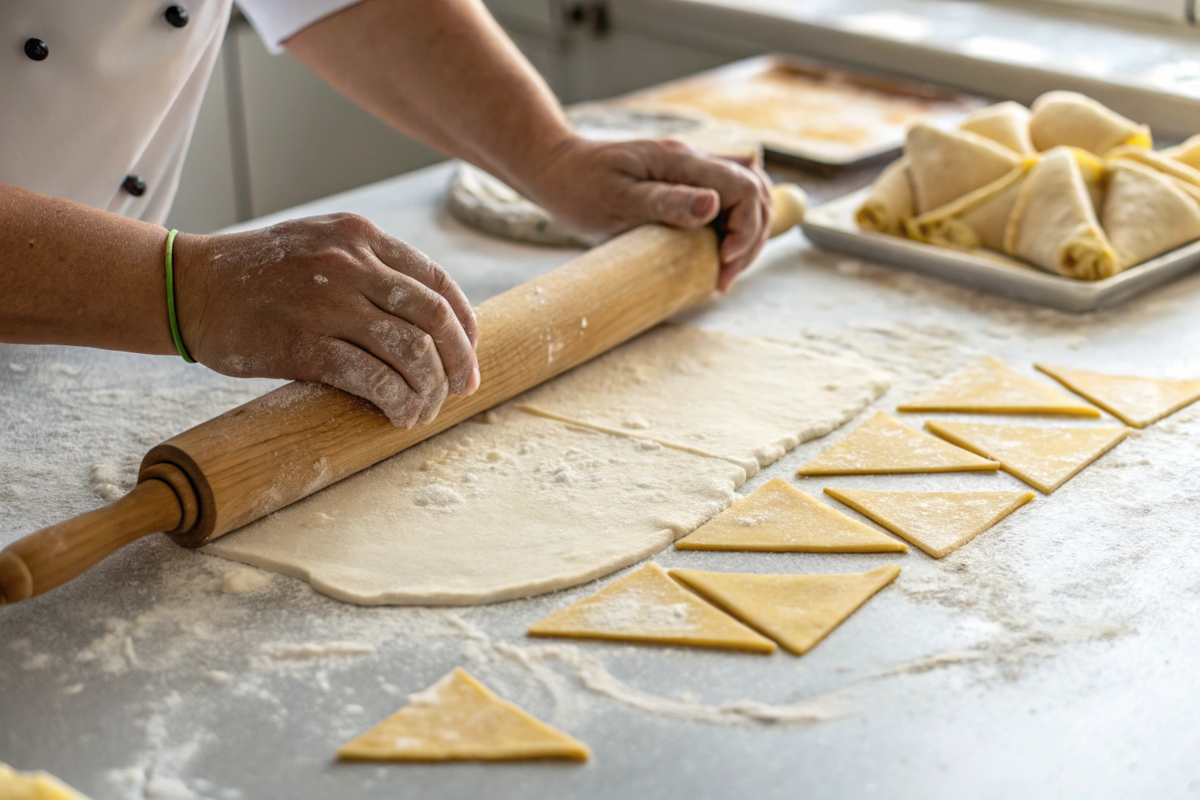
Start by rolling the laminated dough into a thin sheet. Cut it into long triangular pieces, making sure the base of each triangle is wide enough. Roll each triangle from the base toward the tip, gently stretching the dough as you go. Curve the rolled dough into a crescent shape, pinching the ends slightly to hold its form.
Tips for Uniform Gipfeli
Uniformity is key for even baking. Keep your cuts clean and consistent in size, and avoid over-stretching the dough, which could disrupt the layers. Use a ruler or guide to measure if needed. Taking the time to shape each piece carefully ensures a professional finish every time.
Baking Gipfeli to Perfection
Once shaped, the final step is baking—arguably the most satisfying part of the process.
Oven Temperature and Timing
Preheat your oven to 375°F (190°C) for the perfect baking environment. Arrange the shaped Gipfeli on a lined baking tray, leaving enough space for them to expand. Brush the tops with a beaten egg for a golden, glossy finish. Bake for 15–20 minutes or until the tops are beautifully golden brown.
How to Check for Doneness
While appearance is a good indicator, don’t rely on looks alone. Tap the bottom of a baked Gipfeli—it should sound hollow, indicating the interior is cooked through. If the layers appear pale or doughy, give it another 2–3 minutes. Removing them too early can result in under-baked pastries that lack the signature flaky texture.
Variations of Gipfeli Recipe
Sweet Gipfeli Recipes
For those with a sweet tooth, Gipfeli offers endless possibilities. By incorporating sugary fillings or toppings, these crescent-shaped delights become a decadent treat for any occasion.
Chocolate-Filled Gipfeli
Chocolate-filled Gipfeli is a fan favorite, offering rich, gooey indulgence in every bite. To make this version, place a small piece of dark or milk chocolate at the base of each triangle of laminated dough before rolling it into the crescent shape. As the Gipfeli bakes, the chocolate melts into a luscious center.
For added flair, dust the tops with powdered sugar after baking or drizzle them with melted chocolate. The result? A dessert-worthy pastry perfect for breakfast or as an afternoon pick-me-up.
Almond and Apricot Gipfeli
This version combines the nutty flavor of almonds with the tart sweetness of apricots for a gourmet twist. Start by spreading a thin layer of apricot jam over the dough triangles. Sprinkle finely chopped almonds or almond slivers over the jam before rolling them up.
Once baked, these Gipfeli can be brushed with a simple sugar glaze for added shine and sweetness. The balance between the fruity filling and nutty crunch makes this variation an instant hit.
Savory Gipfeli Recipes
If you’re more inclined toward savory treats, Gipfeli can transform into a satisfying snack or meal. By adding cheese, herbs, or hearty fillings, they take on an entirely new flavor profile.
Cheese and Herb Gipfeli
For a savory yet elegant option, try cheese and herb Gipfeli. Mix your favorite grated cheese (like Swiss, Gruyère, or cheddar) with fresh chopped herbs such as parsley or chives. Place a small amount of the mixture at the base of each triangle before rolling.
The cheese melts beautifully during baking, creating a gooey, flavorful interior, while the herbs add an aromatic touch. These are perfect for serving as an appetizer or pairing with soup or salad.
Ham and Cheese (Schinkengipfeli)
A true Swiss classic, Schinkengipfeli is filled with thinly sliced ham and grated cheese, offering a rich and hearty flavor. To make this variation, layer a slice of ham and a sprinkle of cheese on each dough triangle before rolling it up.
For extra flavor, consider adding a dab of Dijon mustard to the filling. Bake until the pastry is golden and the cheese is bubbling. These savory pastries are ideal for brunches, potlucks, or even a quick lunch on the go.
Serving and Storing Gipfeli Recipe
Best Ways to Serve Gipfeli
Gipfeli are incredibly versatile, making them suitable for a variety of occasions. Whether you prefer sweet or savory pastries, serving them with the right accompaniments enhances their flavor and presentation.
Pairing Suggestions for Sweet Gipfeli
Sweet Gipfeli shine when paired with complementary flavors. Serve chocolate-filled or fruit-filled variations with a dollop of whipped cream or a drizzle of honey for added decadence. A cup of freshly brewed coffee or a glass of cold milk makes a perfect beverage pairing.
For a more elaborate touch, consider presenting them on a dessert platter alongside fresh berries, fruit preserves, or a dusting of powdered sugar for visual appeal.
Serving Ideas for Savory Gipfeli
Savory Gipfeli like cheese and herb or Schinkengipfeli pair wonderfully with soups, salads, or even as a stand-alone snack. Arrange them on a platter with dipping sauces like honey mustard or aioli for a party-friendly presentation.
They also make a satisfying addition to a brunch spread, served alongside scrambled eggs, smoked salmon, or fresh greens. Their flaky texture and rich filling complement a variety of dishes.
Storing and Reheating Tips
Ensuring your Gipfeli remain fresh and delicious requires proper storage and reheating methods. With a few simple steps, you can enjoy them even days after baking.
How to Keep Gipfeli Fresh
Store leftover Gipfeli recipe in an airtight container at room temperature for up to two days. For longer storage, freeze them in a single layer on a baking sheet before transferring them to a freezer-safe bag. Frozen Gipfeli can be stored for up to two months without compromising quality.
To prevent them from becoming soggy, place a piece of parchment paper or wax paper between layers if you’re stacking them in a container.
Reheating Without Losing Flakiness
To restore Gipfeli recipe to their original flaky texture, avoid microwaving them. Instead, preheat your oven to 350°F (175°C) and reheat the pastries on a baking sheet for 5–10 minutes.
If you’re reheating frozen Gipfeli, let them thaw at room temperature for 15–20 minutes before warming them in the oven. This method preserves their crisp exterior and soft, tender interior, making them taste as fresh as the day they were baked.
Nutritional Content of Gipfeli Recipe
For those mindful of their diet, understanding the nutritional value of Gipfeli is essential. While these pastries are a delightful treat, it’s good to enjoy them in moderation. Below is an approximate nutritional breakdown for Gipfeli per 100 grams.
Nutritional Content (Per 100g)
| Nutrient | Amount |
|---|---|
| Calories | 370 kcal |
| Carbohydrates | 40 g |
| Protein | 7 g |
| Fat | 20 g |
| Saturated Fat | 12 g |
| Fiber | 2 g |
| Sugar | 5 g |
| Sodium | 300 mg |
FAQ About Gipfeli Recipe
What is the difference between Gipfeli and Croissant?
Though Gipfeli and croissants look similar, they are distinct in texture and taste. Gipfeli, a Swiss specialty, is slightly denser and less buttery than its French counterpart. Croissants rely on a rich, buttery dough to create pronounced, airy layers, while Gipfeli offers a subtler flavor and a softer crumb. These differences make Gipfeli versatile, working equally well for sweet or savory variations.
Can I make Gipfeli without yeast?
Yes, it’s possible to make Gipfeli without yeast by using baking powder or self-rising flour as a leavening agent. However, yeast provides the slight lift and elasticity that contribute to the pastry’s texture. Without yeast, the Gipfeli will lack the airy layers but will still be tender and flaky, making it a quicker alternative for those short on time.
What fillings work best for Gipfeli?
The beauty of Gipfeli lies in its versatility. Sweet fillings like chocolate, almond paste, apricot jam, or custard are classic choices that appeal to dessert lovers. For savory options, fillings such as cheese, herbs, and ham are crowd-pleasers. Experimenting with unique ingredients like pesto, sun-dried tomatoes, or even roasted vegetables can add a modern twist.
Can I freeze Gipfeli dough?
Absolutely! Freezing Gipfeli dough is a great way to prepare in advance. After laminating the dough, roll it into a sheet and cut it into triangles. Layer the pieces with parchment paper and store them in an airtight freezer bag. When ready to bake, let the dough thaw in the refrigerator overnight before shaping and baking.
Why is my Gipfeli not flaky enough?
Achieving the perfect flakiness in Gipfeli requires attention to detail during the laminating and baking processes. Here are some common culprits and solutions:
- Butter Temperature: If the butter is too soft, it may blend with the dough instead of forming separate layers. Keep the butter cold throughout the lamination process.
- Overworking the Dough: Excessive rolling can break the layers, making the pastry dense. Roll gently and chill the dough between folds to preserve the integrity of the layers.
- Oven Temperature: An oven that’s too cool won’t generate enough steam to puff the layers. Ensure the oven is preheated to the recommended temperature (375°F/190°C).
Conclusion
Gipfeli is more than just a pastry—it’s a slice of Swiss tradition wrapped in buttery, flaky goodness. Whether you’re savoring a sweet chocolate-filled version or enjoying a savory Schinkengipfeli, these crescent-shaped treats bring comfort and joy to any occasion.
By following the steps outlined above, you can recreate this iconic pastry in your own kitchen, mastering the art of laminated dough and exploring endless variations. The beauty of making Gipfeli at home lies not only in the delicious results but also in the satisfaction of crafting something with care and creativity.
So, why not try your hand at baking Gipfeli today? Whether for a family breakfast, a special occasion, or just a cozy afternoon snack, these pastries are sure to impress and delight. Embrace the tradition, experiment with flavors, and most importantly, enjoy every bite
for more idea click here


