Butterfinger balls are the ultimate no-bake treat for anyone with a sweet tooth. Packed with the iconic taste of crushed Butterfinger candy bars, creamy peanut butter, and dipped in luscious chocolate, these bite-sized delights are perfect for holidays, parties, or just a quick indulgence. In this article, we’ll cover everything you need to know about making these treats, from the basic ingredients to step-by-step instructions, customization ideas, and tips for perfection. Whether you’re new to baking or a seasoned pro, this guide will have you whipping up delicious butterfinger balls in no time.
Introduction to Butterfinger Balls
What Are Butterfinger Balls?
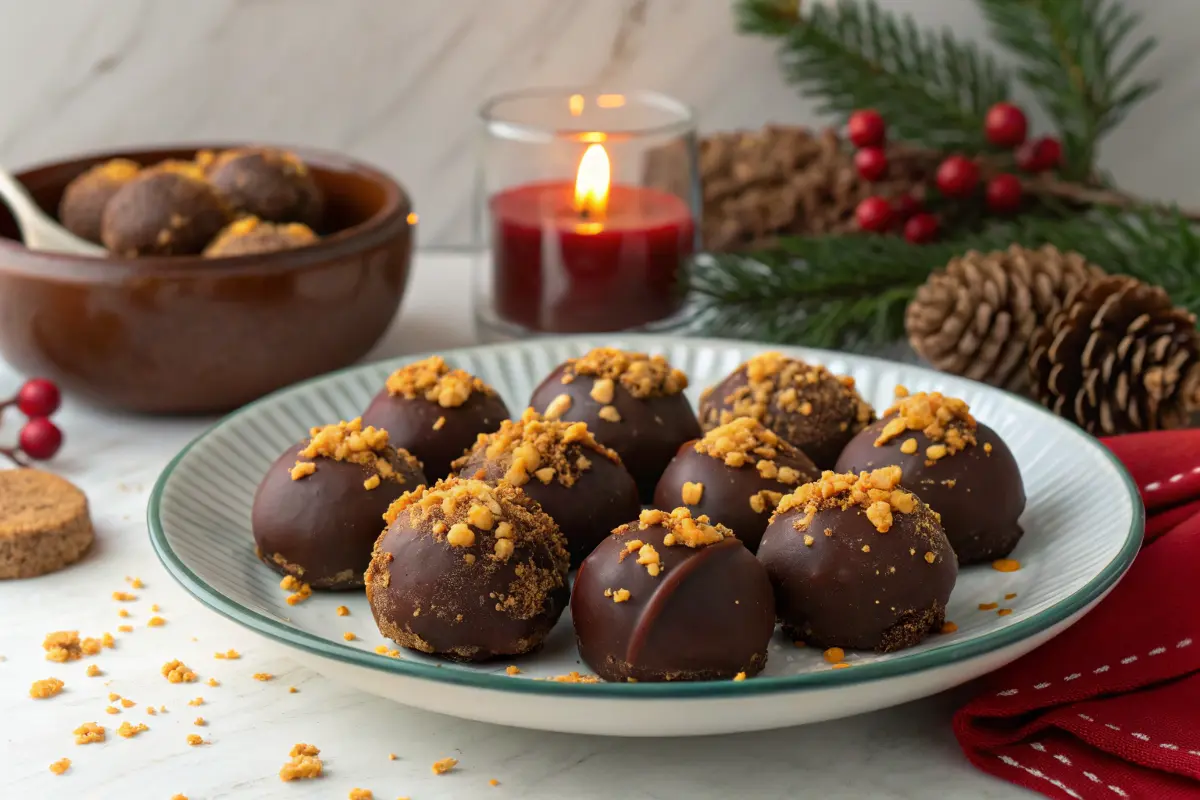
Butterfinger balls are a twist on classic peanut butter balls (or buckeyes), but with the irresistible crunch and flavor of Butterfinger candy bars. These treats combine crushed graham crackers, creamy peanut butter, powdered sugar, and crushed Butterfinger bits, rolled into balls and dipped in melted chocolate. The result? A rich, chewy, and crunchy treat that’s simply unforgettable.
These versatile treats don’t require baking, making them a fuss-free option for busy days. They’re perfect for everything from holiday platters to after-school snacks. And, let’s not forget, they’re a crowd-pleaser that always disappears first at gatherings!
Why Make Butterfinger Balls?
There’s more to these goodies than their taste. Here’s why they’re worth making:
- Convenience: No baking required, just mix, roll, and dip.
- Customizable: Change up the toppings or ingredients for endless variety.
- Perfect for Any Occasion: Whether it’s Christmas, Halloween, or a casual family treat, butterfinger balls fit right in.
Essential Ingredients and Tools
Ingredients for Butterfinger Balls
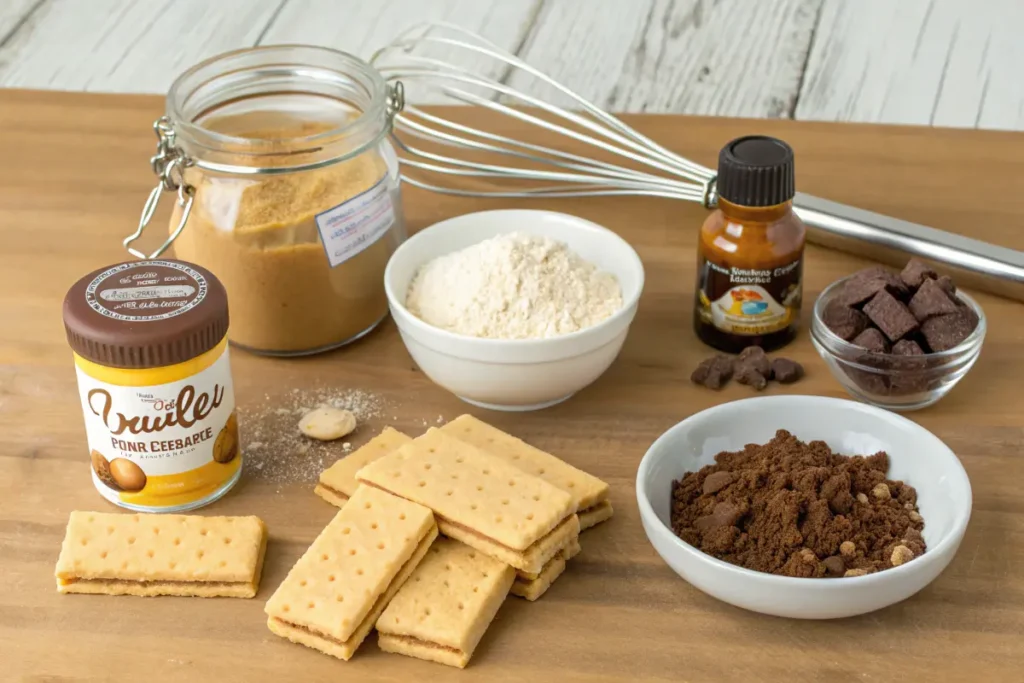
To create the perfect butterfinger balls, you’ll need a handful of simple, easy-to-find ingredients that come together for a flavorful punch. Here’s what you’ll need:
- Peanut Butter: Creamy peanut butter works best for a smooth texture, but you can use crunchy if you want a little extra bite. Avoid natural peanut butter, as its oiliness can affect the consistency.
- Butter: Stick with unsalted butter, softened to room temperature. It blends perfectly without overpowering the sweetness.
- Vanilla Extract: Adds depth and enhances the candy’s overall flavor.
- Powdered Sugar: Helps thicken the mixture and adds the right level of sweetness.
- Graham Crackers: Crushed crackers provide a slightly crunchy, cookie-like texture to the balls.
- Butterfinger Candy Bars: The star ingredient! Crush these iconic candy bars to mix into the dough and garnish the finished treats.
- Chocolate Bark or Chips: Perfect for dipping. Chocolate bark melts smoothly, but you can also temper regular chocolate chips for a shinier finish.
Equipment You’ll Need
Having the right tools makes assembling butterfinger balls a breeze. Gather these essentials before starting:
- Mixing Bowls: One large bowl for mixing the dough and smaller ones for other ingredients.
- Electric Mixer: A hand mixer or stand mixer ensures a smooth blend.
- Cookie Scoop: Helps create evenly sized balls for a professional look.
- Baking Sheet: Use one lined with parchment paper to avoid sticking.
- Wax or Parchment Paper: Perfect for placing dipped balls while the chocolate sets.
With these ingredients and tools ready, you’ll have no trouble crafting these no-bake delights!
Step-by-Step Recipe for Butterfinger Balls
Step 1: Mixing the Base
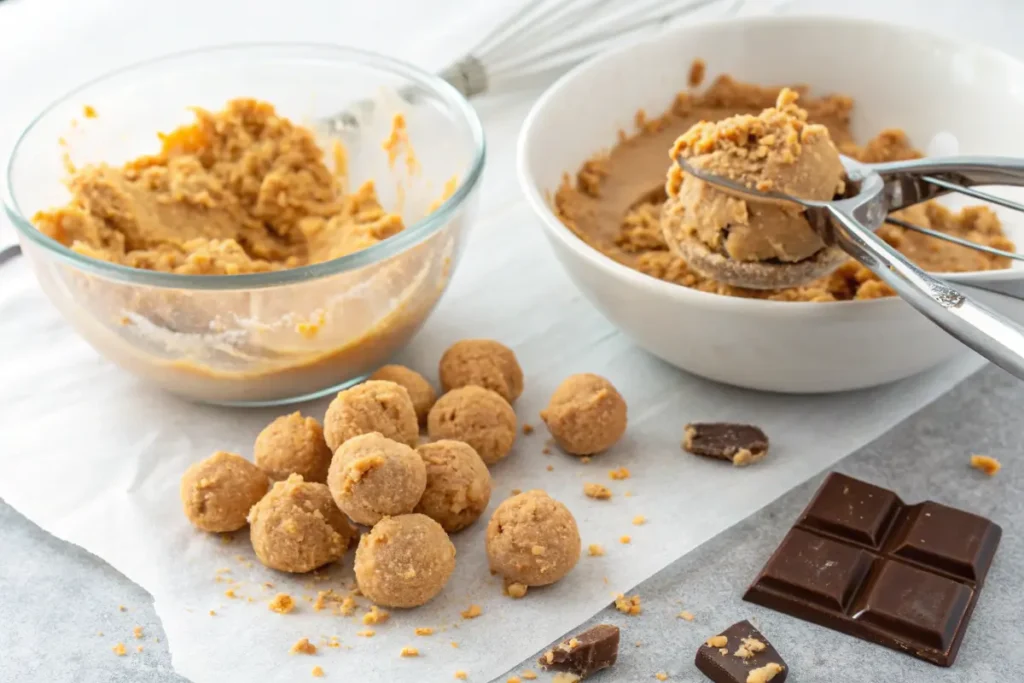
First, grab a large mixing bowl and combine creamy peanut butter and softened butter using an electric mixer. Beat on medium speed until the mixture is creamy and well blended. Add in a splash of vanilla extract, and mix until everything’s incorporated.
Next, gradually mix in the powdered sugar. Add it in small batches while keeping the mixer on low speed to avoid a sugar cloud. Once the mixture thickens, stop and scrape down the sides to ensure an even texture. Finally, toss in the graham cracker crumbs and crushed Butterfinger bars, and gently fold everything together. The dough should hold its shape when pressed.
Step 2: Shaping the Balls
Using a cookie scoop, measure about 1½ tablespoons of dough per ball. Roll the mixture between your palms to form smooth, uniform balls. Place each one on a parchment-lined baking sheet. Once all the dough is shaped, pop the sheet into the freezer for 30 minutes. This step helps the balls firm up, making them easier to dip in chocolate later.
Step 3: Dipping in Chocolate
While the balls chill, melt the chocolate bark or chips. Use a microwave-safe bowl and heat the chocolate in 30-second intervals at 50% power, stirring in between. Alternatively, melt it in a double boiler for extra control. Once the chocolate is silky smooth, you’re ready to dip.
Remove the balls from the freezer. Using a toothpick or fork, dip each one into the melted chocolate. Coat it completely or leave a small section exposed for a classic buckeye look. Let any excess chocolate drip off before placing the dipped ball back onto the parchment paper. Sprinkle additional crushed Butterfinger bits or festive decorations on top while the chocolate is still wet.
Let the chocolate set completely at room temperature or in the fridge. Once firm, your butterfinger balls are ready to enjoy!
Customizing Your Butterfinger Balls
Flavor Variations
One of the best things about butterfinger balls is their versatility. You can tweak the ingredients or toppings to suit your taste, making every batch unique. Here are a few ideas to inspire your creativity:
- Switch the Candy: Replace crushed Butterfinger bars with other favorites like Snickers, Reese’s, or Heath bars for a fresh twist.
- Add Coconut: Mix shredded coconut into the base for a tropical vibe or use it as a topping for a snowy finish.
- Seasonal Sprinkles: Customize the look for holidays. Try red and green sprinkles for Christmas or pastel ones for Easter.
- Nutty Additions: Fold in chopped almonds, pecans, or walnuts to add crunch and depth.
Substitutions for Ingredients
Adapting this recipe to different dietary needs is simple:
- Gluten-Free Option: Swap graham cracker crumbs for gluten-free alternatives like crushed gluten-free cookies.
- Dairy-Free Option: Use a plant-based butter and dairy-free chocolate to accommodate those with lactose intolerance.
- Low-Sugar Option: Substitute powdered sugar with a sugar-free alternative to reduce sweetness without sacrificing flavor.
Experimenting with substitutions and variations is part of the fun, so don’t hesitate to try something new!
Tips for Perfect Butterfinger Balls
Chocolate Dipping Tricks
Dipping butterfinger balls in chocolate can seem tricky, but with these tips, you’ll get flawless results:
- Melt with Care: Use a microwave or double boiler to melt chocolate slowly, stirring frequently to prevent burning.
- Avoid Clumps: Roll balls lightly before dipping and let excess chocolate drip off to prevent messy puddles.
- Decorate Immediately: Add crushed Butterfinger bits or sprinkles while the chocolate is still wet for a professional touch.
Storage and Shelf-Life
Proper storage ensures your butterfinger balls stay fresh and delicious:
- Refrigeration: Store in an airtight container in the fridge for up to 3 weeks. Place wax paper between layers to avoid sticking.
- Freezing: Freeze in a sealed container for up to 6 months. Thaw in the fridge or at room temperature before serving.
For more delightful recipes, you might enjoy exploring no-bake options like Oreo Ice Cream Cake. It’s another crowd-pleasing treat you can make with ease!
FAQs of Butterfinger Balls
Can I Use Different Candy Bars?
Absolutely! While butterfinger balls shine with their signature Butterfinger flavor, you can easily swap out the candy bars for others. Try Reese’s for a peanut butter overload, Snickers for a nougat-filled twist, or Kit Kats for an extra crunch. The key is to crush the candy bars finely so they mix seamlessly into the dough.
Experimenting with different candies lets you cater to varying tastes or create themed versions for special occasions. Who doesn’t love a little variety in their treats?
What’s the Best Chocolate for Dipping?
Choosing the right chocolate can make all the difference. For a smooth, glossy finish, chocolate bark or melting wafers are the easiest to work with. If you prefer using chocolate chips, tempering them is the way to go. This ensures the coating sets properly without becoming sticky.
If you’re looking to add extra flavor, try using dark chocolate for a rich contrast or white chocolate for a sweeter, creamier profile. The versatility of chocolate makes it easy to customize your butterfinger balls to perfection!
How to Store and Freeze Butterfinger Balls?
Butterfinger balls are easy to store, making them ideal for preparing ahead of time. Keep them in an airtight container in the refrigerator for up to three weeks. To freeze, place them in a freezer-safe container and store for up to six months. When ready to enjoy, let them thaw in the fridge or at room temperature for the best texture.
Proper storage ensures you can enjoy these treats whenever the craving strikes!
Nutrition and Serving Ideas
Calories and Nutritional Information
Each serving of butterfinger balls packs a flavorful punch, but it’s good to know what’s inside. On average, one ball contains about 219 calories, 13 grams of fat, and 23 grams of carbohydrates. While these treats aren’t exactly a low-calorie snack, they’re perfect for an occasional indulgence.
To adjust for dietary preferences, you can experiment with low-sugar chocolate or alternative sweeteners. This allows you to enjoy the same delicious taste while tailoring the recipe to your needs.
Serving Suggestions
Butterfinger balls are versatile and pair well with many other desserts and drinks. Here are some serving ideas:
- Dessert Platter: Add these treats to a tray with cookies, fudge, and other candies for a party-ready presentation.
- Paired with Coffee or Tea: The sweetness of the balls complements a warm beverage perfectly, making them a great afternoon snack.
- Holiday Gift Idea: Wrap them in festive packaging for a thoughtful, homemade gift during the holidays.
For another no-bake delight to accompany your butterfinger balls, consider trying No-Bake Pumpkin Cheesecake Balls. They’re just as easy to make and equally crowd-pleasing!
Conclusion and Final Thoughts
Why Butterfinger Balls Are a Must-Try
If you’re searching for a no-bake treat that’s easy to make and loved by all, look no further than butterfinger balls. These bite-sized delights bring together the crunch of Butterfinger candy bars, the creaminess of peanut butter, and the indulgence of chocolate. Whether you’re preparing for a holiday party or simply craving something sweet, these treats are a guaranteed hit.
Encourage Experimentation and Sharing
The beauty of butterfinger balls lies in their versatility. You can customize them with different candies, sprinkles, or toppings to suit any occasion. Don’t hesitate to get creative and make the recipe your own. Plus, they’re so simple to prepare that they’re a great way to get the whole family involved in the kitchen.
Try them today and share this irresistible recipe with friends and family. It’s the gift that keeps on giving!